Windows Backup Failed Status_Code_Wait
After each reinstallation of Windows 10, the first thing to do is to schedule a backup. Considering I have just installed Windows 10 1809 from scratch, this is the first logical thing to do. Even though Windows 10 has a new backup now, I still prefer to use the old Windows 7 backup style.
The reason for this is due to the fact that Windows 10 default backup includes 18 folders that you have to manually remove, one by one, because I like to specify what will be backed up.

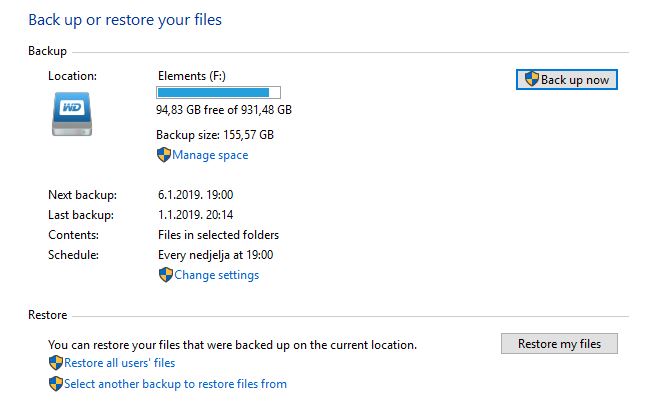
And here is the old Windows 7 backup that is still present in the latest release of Windows 10.

When I have configured and run my new backup I have run into an issue (wonders). The first error message I have received for unsuccessful backup was:
Windows Backup did not complete successfully. This error message was related to false positive detection of Windows Defender. The error code was: 0x800700E1. To solve this, double-check that/those files, add it to allowed list or deleted the file then run the backup again.
After the next backup attempt, another problem appeared after a while. This time the error message was a bit more unspecified:
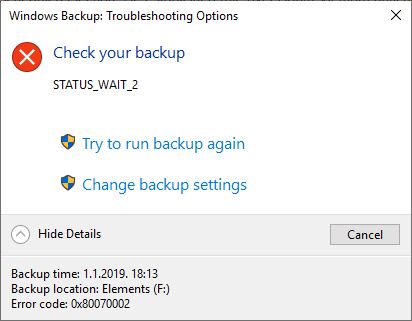
Check your backup: STATUS_WAIT_2
Error code: 0x80070002

I was scratching my head for a while since I wasn’t able to detect the culprit for this error message. Then I did one simple thing for which I didn’t think it would solve this problem, but it actually did! I have plugged in my WD Elements external drive directly on the MBO (back side of the computer case), instead of using the front USB 3.0 ports. After that my backup went fine without any issues.
Hopefully, this article will help all of you that might run into the same problem with Windows backup.
UPDATE!
Thanks to our reader Andrey I have managed to do a full backup using the front USB port following his steps.
Here’s what you can also try to fix this problem:
From the Start menu, search and click on the Virus and threat protection app.
Under the Virus & threat protection settings click on Manage settings.
Scroll down to Exclusions and click on Add or remove exclusions.
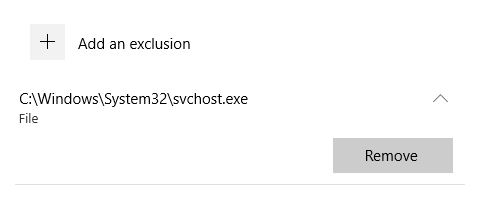
Add the following file: C:\Windows\system32\svchost.exe.

Try to run the backup again.
Please have in mind that you might want to remove the svchost.exe from the list of exclusions if you want to stay fully protected with Windows Defender.


Windows Security\Virus & threat protection\Manage settings\Exclusions\Add or remove exclusions\Add an exclusion – C:\Windows\system32\svchost.exe
Hi Andrey,
I have tried your solution along with using the front USB port and it worked! Thanks! I will update this article.
are you saying the native virus protection stops the native backup program. now that’s an OS! drive me into the arms of Linux can you?
This worked but I did have to reboot for it to take effect.